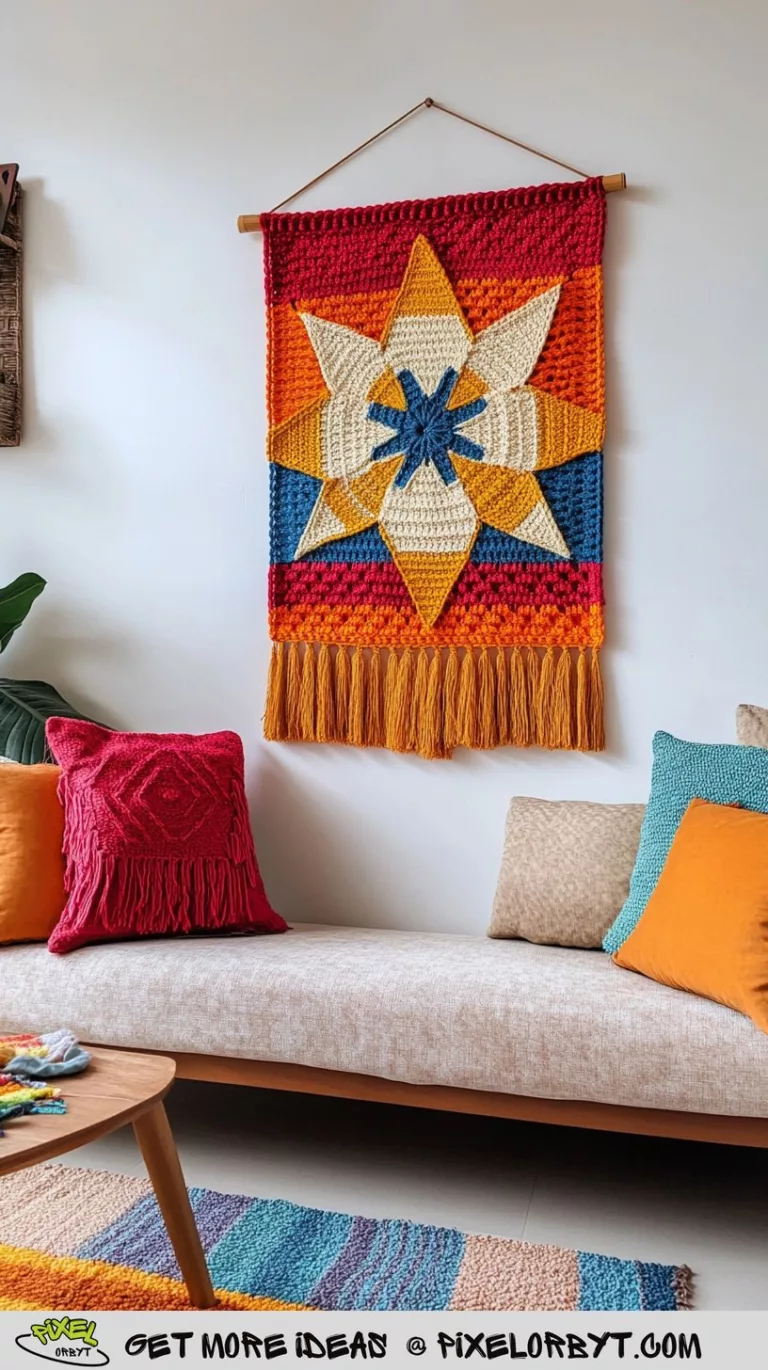
37 Crochet Keychain Ideas (With a Stitch Note for Each)
A keychain is the smallest finished object in crochet, which is exactly why it is worth making. Twenty yards of yarn, one evening, and you have a gift that survives being dropped in a handbag every day for a year.
Work every charm below a full hook size down from what the yarn band says. A DK cotton on a 2.5 mm hook gives a fabric stiff enough that the stuffing stays invisible and the shape holds in a pocket. Each idea comes with the note that actually decides whether it works.
When a keychain stops being a challenge, these crochet project ideas with the skill each one teaches scale the same techniques up into hats, bags and blankets.
Amigurumi Character Charms
All eleven are worked in a continuous spiral with no joining slip stitch. Keep a marker in the first stitch of every round — at this size one missed round is a lopsided head.
1. Striped Robot

The body is flat-sided, so work it in rows and seam three edges rather than tubing it. Carry the unused colour inside; rejoining every two rounds leaves lumps you can feel.
2. Robot With Safety Eyes

Fit 8 mm safety eyes before closing the head, set only three rounds apart. Wider spacing makes the face read as an animal instead of a robot.
3. Blue and Orange T-Rex

The jaw is a separate half-oval sewn under the snout, teeth embroidered before assembly. Stuff the head firmly and the tail barely at all so it balances the ring.
4. Grinning Dinosaur

The same magic ring and single-crochet spiral runs the whole amigurumi family — the free crochet octopus patterns use identical head shaping at a friendlier size.
5. Green Dragon With Spikes

Add the spikes last as a chain-3 slip-stitch ridge along the back seam. Building them into the rounds means you cannot space them by eye.
6. Long-Eared Bunny

Ears this upright are worked flat in rows and folded, never tubed. One row of slip stitch up the inner edge stiffens them enough to stand without wire.
7. Blushing Bunny

The cheeks are pencil blush rubbed into the fabric — embroidery flattens the stitches. Once the face works small, it scales into the crochet lovey free patterns.
8. Classic Teddy Bear

Sew the arms on at a forward angle so he reads as sitting rather than falling. The muzzle is a flat circle applied last, far easier than shaping a snout in the round.
9. Hooded Winter Bear

The hood is a half-circle with two ear openings, sewn on rather than crocheted in, so you can swap colours between gifts.
10. Rainbow Striped Owl
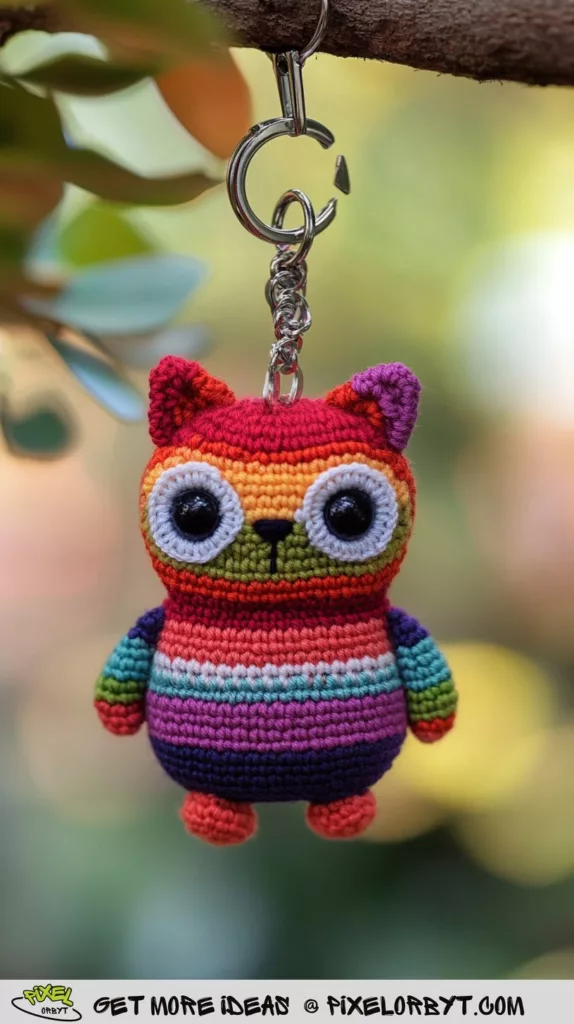
Stripes stack cleanly because the body runs straight for six rounds before any decreasing. Change colour at the back seam and the jog vanishes into the join.
11. Patchwork Llama

Scrap colour blocking with no repeating logic is the point — every limb a different leftover. The same few yards make a pair of crochet earrings.
Tiny Cars and Vehicles
Vehicles are the hardest shapes here, because a car is judged on straight lines and crochet wants to curve. Stuff them with firm foam scrap, not fibrefill, and the roofline stays flat.
12. Orange Sports Car

The bonnet slope comes from decreasing on the top face only while the underside stays straight. Wheels are flat circles sewn on; tubes make it sit too high.
13. Boxy Jeep

Six flat panels seamed together beat shaping in the round and give crisp edges. Work the windows as contrast-colour blocks as you go.
14. Black Coupe

Dark yarn kills stitch definition, so the orange grille and headlights do all the work of reading as a car. Place them before stuffing while you can still anchor the ends inside.
15. Red Convertible

No roof means the interior shows, so line the cockpit with a flat black oval before seaming. This is the version that reads as a car at arm’s length.
16. Pocket-Size Red Car

In 4-ply cotton on a 2 mm hook this finishes near four centimetres — small enough that it never catches in a bag lining.
Flat Panels, Medallions and Tapestry Crochet
Flat charms are the fastest things here and the best way into colourwork. If your tension wanders on flat work, a few crochet dishcloth patterns fix it quicker than anything else.
17. Autumn Mountain Medallion

Tapestry crochet in the round: carry both colours throughout and the back stays neat enough to leave unlined. Chart it first, since a circle gains stitches every round and stretches the picture.
18. Two-Colour Peak

Two colours and one diagonal is the easiest tapestry motif that still looks deliberate. Work two circles and whip-stitch them back to back so no floats show.
19. Sage Mountain Patch

Hung on braided cord instead of chain, it doubles as a zipper pull. A felt disc between the layers keeps it perfectly flat.
20. Cassette Tape

The window is a deliberate gap: chain across the opening and pick up on the far side. Back it with black felt so it reads as tape rather than a mistake.
21. Flat Retro Cassette

One panel with two spool circles appliquéd on, about forty minutes start to finish. A good first go at changing colour mid-row.
Stars, Hearts and Flowers
A second petal round behind the first is what stops a flat motif looking like a coaster. The same construction scales straight up into these crochet flower ideas.
22. Layered Star

A smaller star sewn on a larger one in contrast colour. Points stay sharp only if you work chain-2 and a slip stitch at each tip instead of turning with a single crochet.
23. Star Trio

Three charms on one ring, each on its own chain length so they hang staggered rather than clashing. Twenty minutes apiece.
24. Rainbow Petal Flower

Each petal is worked individually off a central ring, so every one can be a different colour with no carrying. Block it flat under a damp cloth or the petals cup.
25. Double-Layer Bloom

Two flower rounds stacked and offset by half a petal so the back layer fills the gaps. Sew through the centre only; the outer petals should lift.
26. Orange Flower With Tassel

The tassel adds the weight that keeps it hanging straight instead of twisting. The same trim finishes these crochet zipper pouches.
27. Two-Tone Heart
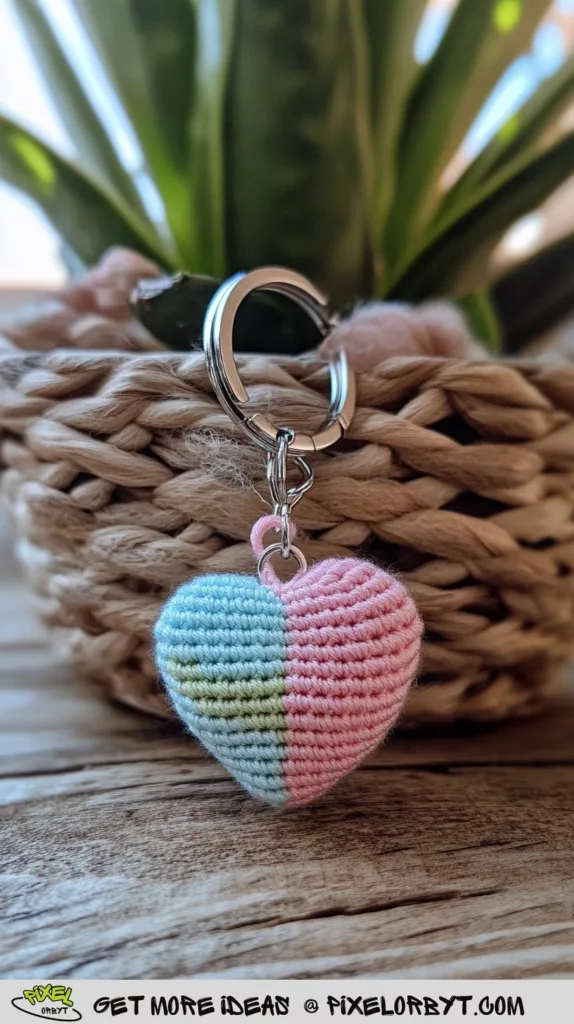
Colour blocked down the centre line, which means two half-hearts joined at the seam. Line the join up before stuffing or the split reads crooked.
28. Rainbow Puff Heart

Two flat hearts sewn together and lightly stuffed through the top gap. The diagonal comes from changing colour partway along each row.
29. Rainbow Ring

Single crochet worked all the way around a plastic ring blank. The simplest thing here, and the one that survives being sat on.
Sweet Treats
Food charms live or die on the frosting. Work the swirl as a chain of puff stitches and coil it from the outside in, sewing as you go, so it sits proud of the base.
30. Rainbow Swirl Cupcake

Flare the case with an increase every other round and add the frosting as a separate coil. Stuff the base firmly — a soft cupcake sags at the waist within a week.
31. Stacked Pastel Cupcake

Four narrow colour bands stacked for height, with seed beads for sprinkles. Sew the beads on with sewing thread or they sink into the fabric.
32. Soft-Serve Swirl

One continuous spiral with a colour change every round and a half, which is why the stripes wrap. Roughly five centimetres, about an hour.
33. Rainbow Donut

Concentric rounds worked outward, one colour each. The open centre threads straight onto a bag strap or a crochet handbag handle.
Anchors, Skulls and Charms With an Edge
These four rely on silhouette alone, so the fabric has to be dense enough to hold an outline. Drop another half hook size.
34. Anchor With Shell

The crossbar is a separate strip sewn across the shank so it stays perpendicular. For coastal shapes on needles, the free knitted seaside keychain patterns cover shells and starfish.
35. Anchor With Rope Tassel
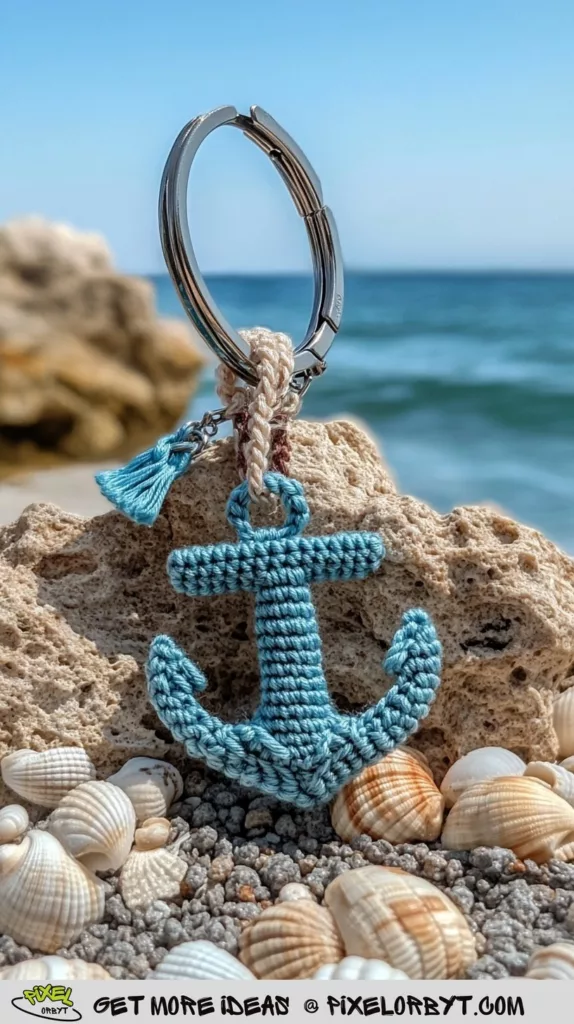
The same anchor finished with a twisted cotton tassel. Use mercerised cotton; acrylic goes fuzzy at the tassel ends within a fortnight of pocket use.
36. Grey Skull

The sockets are the design: leave them unstuffed and pull them inward with a long stitch through the head. Without that pull it reads as a lumpy ball.
37. Blue Skull

Embroidered sockets instead of sculpted ones — faster, flatter, easier to keep symmetrical. The pale colourway makes it a gift rather than a Halloween prop.
Making Them Last
A keychain takes more physical abuse than anything else you crochet. Three habits fix nearly every failure:
- Weave ends in twice, in opposite directions. One pass works loose within a month of pocket friction.
- Stuff in small pinches. A single wad leaves lumps that never redistribute once the piece is closed.
- Attach hardware to a stitch, not a seam. Seams pull open; a worked stitch has yarn running through it two ways.
Mercerised cotton beats acrylic for anything handled daily: it resists pilling and holds a crisp stitch.
Crochet Keychain FAQ
What hook and yarn should I use for crochet keychains?
DK or 4-ply cotton on a 2–2.5 mm hook, one to two sizes below the band recommendation. The tight fabric is the whole reason the stuffing stays hidden and the charm keeps its shape.
How do I stop the stuffing showing through the stitches?
Go down a hook size, and line the inside with a scrap of matching felt if it still shows. White filling behind dark yarn is the usual culprit — use dark polyester filling for black and navy charms.
How much yarn does one keychain take?
Between 10 and 30 yards for everything on this list. One 50 g ball makes eight to twelve charms, which is why these are the standard way to use up leftovers.
What hardware do I need, and where does it attach?
A 25 mm split ring, plus a lobster clasp and 2 cm of chain if you want the charm to swing clear of your keys. Sew it to one stitch at the top centre with four or five passes, then knot inside before closing.
Pick one from a section you have not tried and make it tonight. By the end of the evening you will know whether you want eleven more of them by Christmas.